|
|
||||||||||||
|
|
|
Westchester Web Design |
This is the procedure I used to clear the corners on my 2000 Mustang. This involves cutting into the headlight, removing the reflector, and bonding the headlight back together. These instructions come together after struggling with the first headlight, and refining the process for the second one.
Preparation:
Workspace: A bit dusty during cutting, I just used a chair in my puny garage.
Tools: Dremel Tool
(or similar cutting tool), safety glasses (not kidding),
needle nose pliers, J-B Weld
, spreading tool (I used a dental tool from the flea
market - $1), clamps, compressed air, a couple of towels.
Procedure:
| (Click thumbnail for full-sized image) | |
| Un-clear corners: | 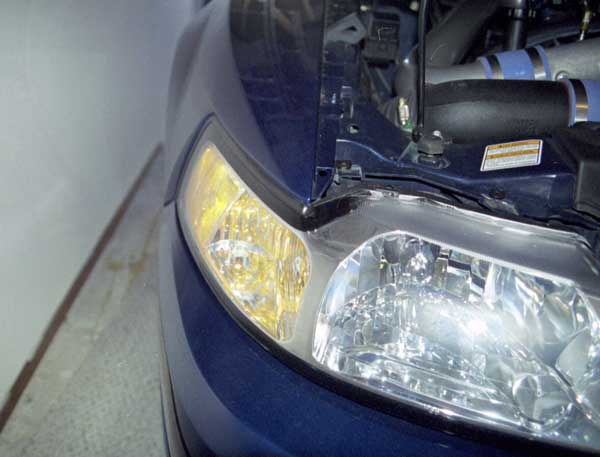 |
| Removal
of headlight Start by removing the headlight. Lift hood and pull the two pins that hold the headlight in place. Once removed, you can un-clip the two wire harnesses to go to the bulbs. |
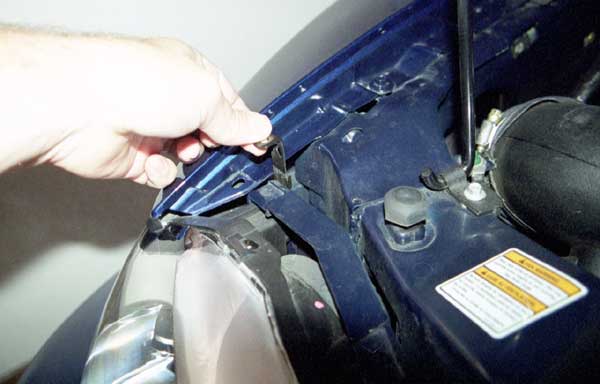 Removing the pins |
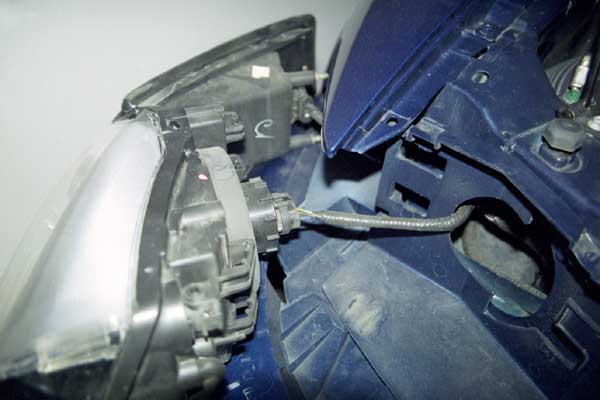 Wire harness |
|
Getting
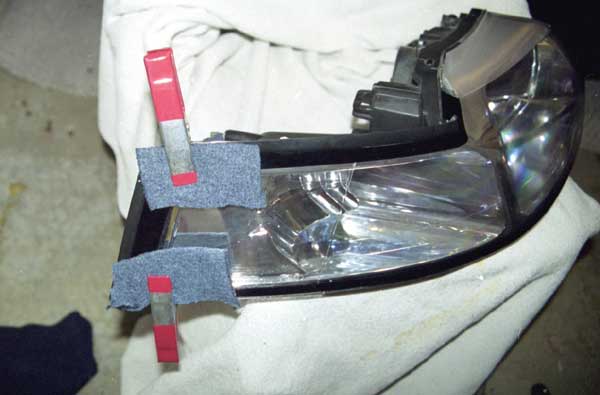
Ready to Cut Next, ready your dremel tool by putting on a good cutting blade. I used a "saw-tooth" type blade (about $10 at OSH) because it seemed to cut better than the disc, and made the hole a bit thinner. Although it seems geeky, I must encourage safety glasses. There is stuff flying all over, and the likelyhood of the blade breaking is good. Do yourself a favor - you might need that eye later :-) |
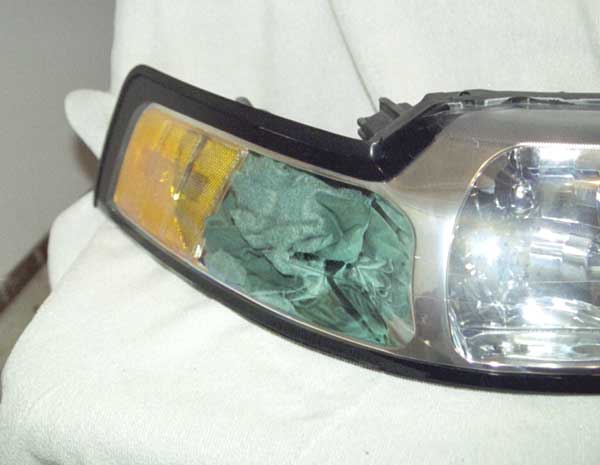 Towel inside fixture |
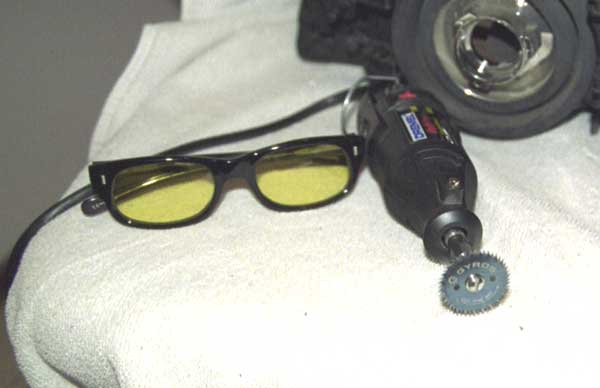 Tools for the job |
|
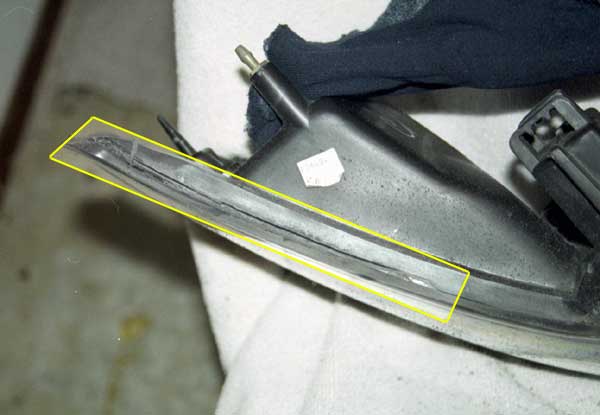
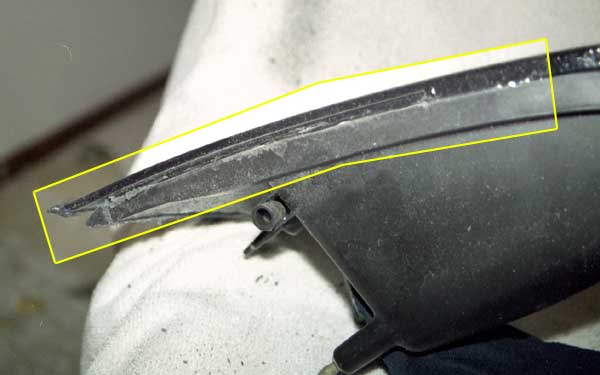
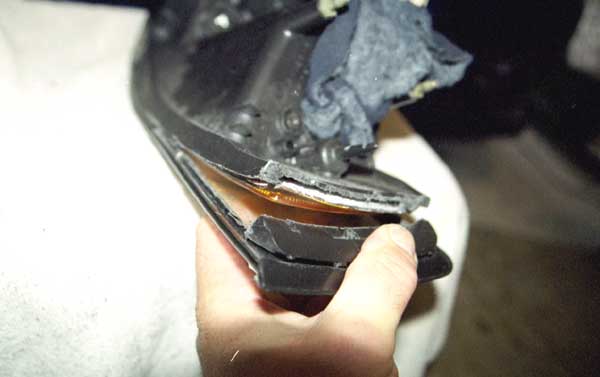
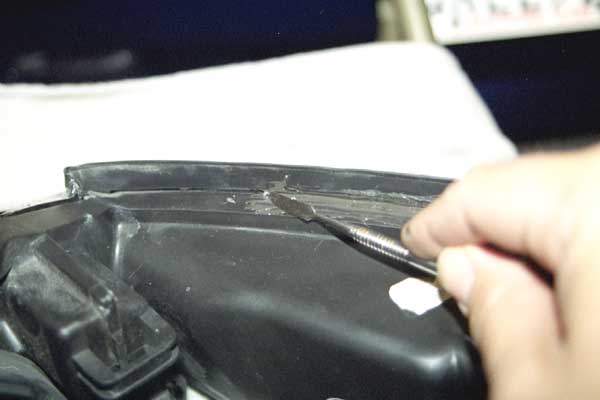
Making
the Cut Next, cut the side of the fixture. Use the brass torx head screw as your guide. Make the cut just inside of that screw. Do not go as deep as the top cut - there is less material here. Finally, make the cut on the bottom of the fixture. There is a little valley between the clear part and the grey plastic portion. Make your cut as close to the clear plastic as possible. You will loose a bit of the grey plastic, but you will be able to fill it in with JB Weld. Go as deep as on the top side of the fixture.
|
 Cutting the top |
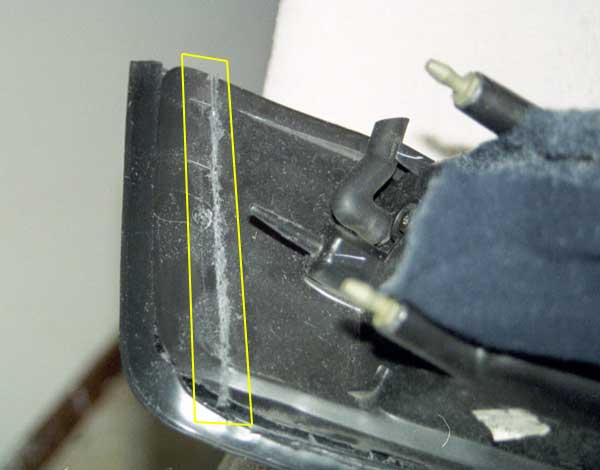 Cutting the side (end) |
|
 Cutting the bottom |
|
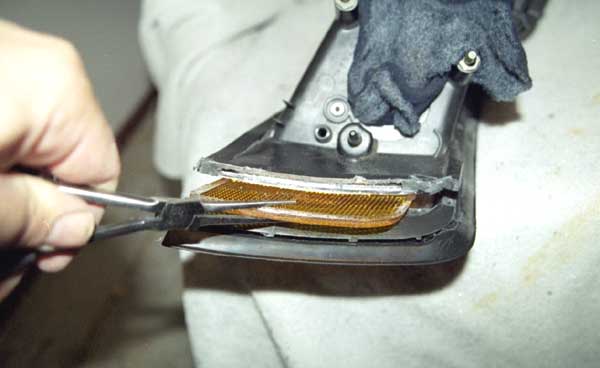
Removing
the reflector Next, reach in with the needle nose pliers and liberate the orange reflector. It may put up a bit of a fight, as it is lightly bonded to the clear lens. Wiggle it around a bit and it will slide out. Pull it out gently so that you don't scratch the lens or metallic reflector |
 Prying open the lens |
 Removing the reflector |
|
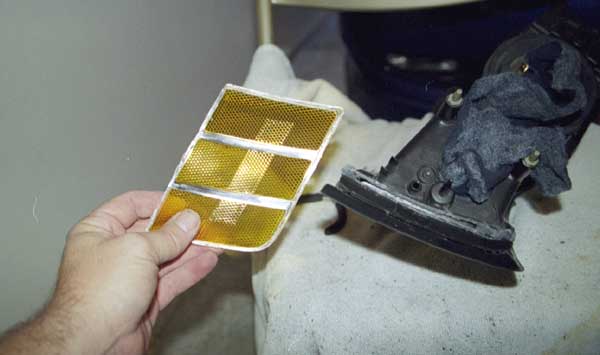 The reason we are doing this |
|
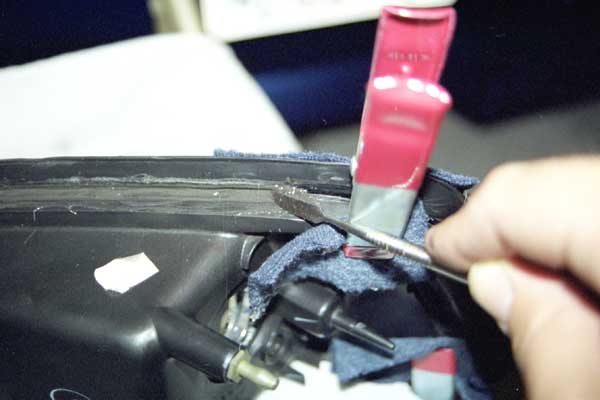
Cleaning
up the mess First, use a small blade or the Dremel with a grinder to remove any annoying plastic shards around your cuts. Next, remove the rags that were put into the openings, and the one inside the fixture. With the compressed air, blow through the bulb openings while prying out on the lens opening. Repeat. Again. And again. You get the picture. Be careful in the headlight opening - there is a little "hood" that is pretty flimsy. Blow again. |
 Blowing the gunk out |
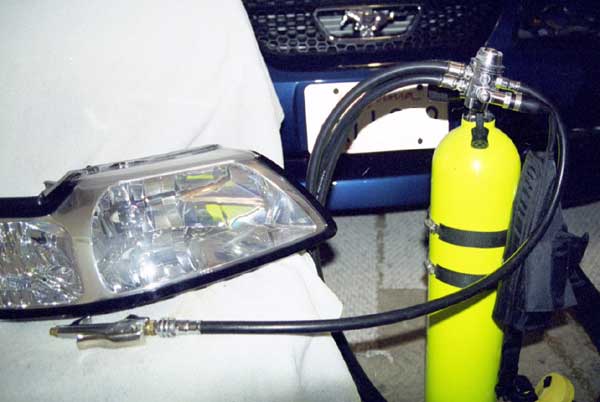 My fancy compressed air unit |
|
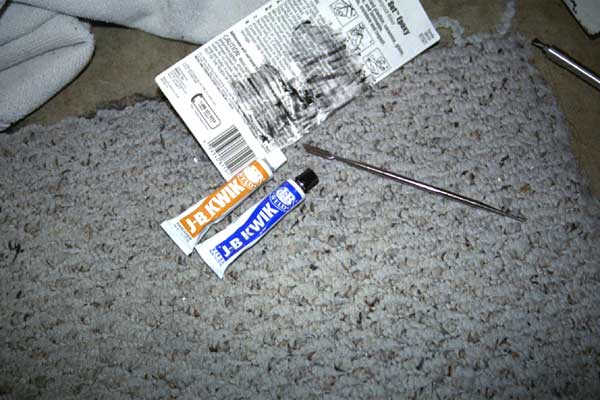
Putting
it back together Next, mix up the JB Weld. I first tried with two-part epoxy, but found that to be way too runny. The JB Weld was a good consistency and did not leak into the fixture. Remember, only mix up a little at a time. The JB Weld sets up in about 4 minutes. Spread the mixture on the top part of the fixture. Smooth it out with your spreading tool. You can also wipe off any extra with a rag if you are quick. Repeat on the bottom of the fixture. Once the top and bottom is done, give it a bit to set up - I took a beer break at this point. Once your beer is finished, you can move the clamps to do the end piece. I found it easy to move the clamps to the side, apply the JB Weld, then move the clamps as shown in the lower pic for the best pressure. The end piece wants to flex outwards. Final thought on sealing - do a good job. I am sure it is impossible to seal it as well as the factory did, but you want to aim for that. Washing and rain will be the enemy here. Take your time and be thorough. |
 Clamping the fixture |
JB Weld and "the tool" |
|
|
|
 Smoothing it out |
|
 Clamping the end for sealing |
|
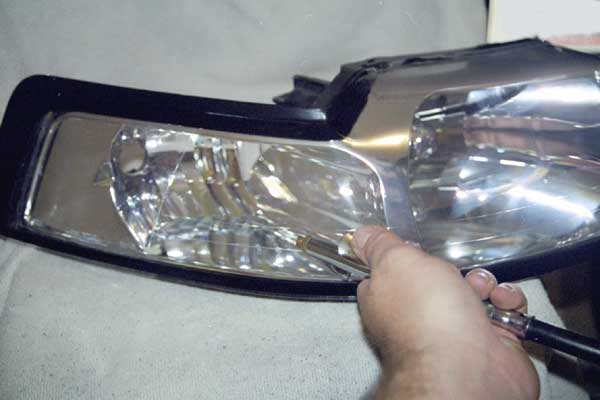
Finishing
up Once you are happy with the finish, replace the bulbs and re-install into your Stang. A note on the side-marker bulb - it is amber. It is supposed to be amber. If you put something other than that in there, you will probably be ticket bait. I read that Phillips is coming out with a bulb this fall that has a mirror finish when off, but glows amber when lit. That would be a nice addition. I will update when I find out some information. |
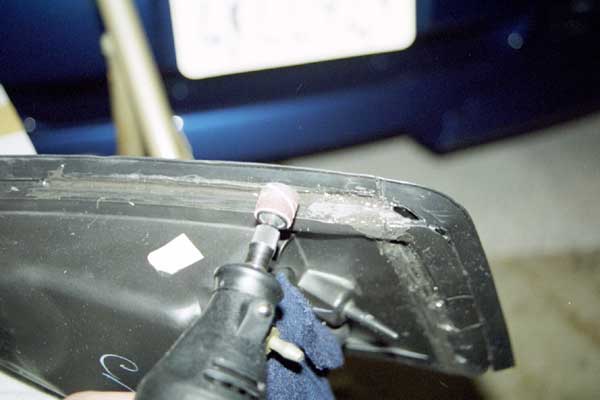 Grinding the finish |
 The end result! |
|
Its Done!
All in all, I think this was a nice addition. It has a cleaner look, but it is not something that jumps out and screams "MOD!!". I think the addition of a different bulb will be nice. I will also be watching during rains to see if I get any leakage. I did not get any leakage during my first wash, but I don't do high pressure water.
found
@ http://www.fnsweet.com
By: Kev