|
|
||||||||||||
|
|
|
Westchester Web Design |
For
the record I did no Drilling and no Splicing lines. This is the how to
I wrote
to help you guys out.
After I installed my Accufab Plenum and 75mm Throttle body I decided I
wanted to see
how much more air I can suck into my engine. Since I didn't already know
what my old
plenum and t/b sucked in I really don't have a point of reference to compare.
This is neither here or there as I just wanted to mod my car. Now to see
how much air
your sucking in, you are going to need to get a vacuum gauge. Since I
plan of getting
a supercharger soon I got a Vac/Boost gauge.
Ok so here are the things you need.

a - white 12 gauge wire
b - black 12 gauge wire
c - Zip ties
d - keys for your car - duh
e - a 2 1/16" vacuum boost gauge (i used autometer phantom series)
f - some rubber connectors to hook up the vacuum lines to the T's
g - double crimp wire connections
h - some black screws to hold the gauge pod in place to the a-pillar (not
totally necessary)
and some light bulb covers and light bulb wire set
i - the vacuum line and little connectors
j - the 2 pod A pillar
k - little fuse "add a circuit" mini
l - electrical tape
m - pliers
n - teflon tape
o - screwdriver
p - something to cut wires with
q - wife's kitchen scissors (just because and she is pissed about this)
not shown - 8mm socket wrench and some plastic engine bay tubing
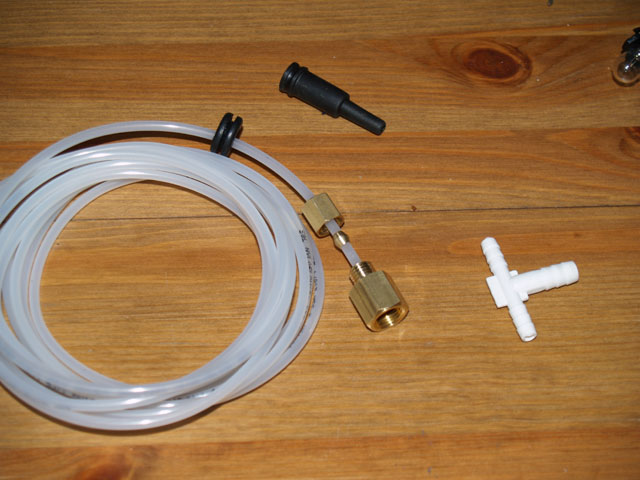
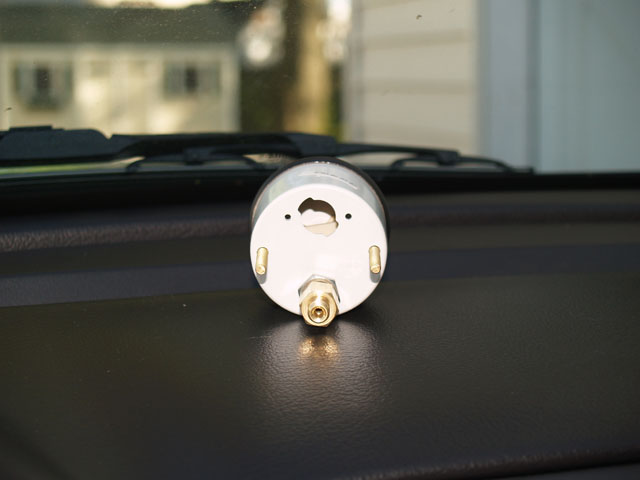
Here you can see what came gauge is the T connecter a rubber connector
and hose.
you can see between the 2 bolts there is a little brass bead. When the
2 bolts
compress the bead holds the line in place.
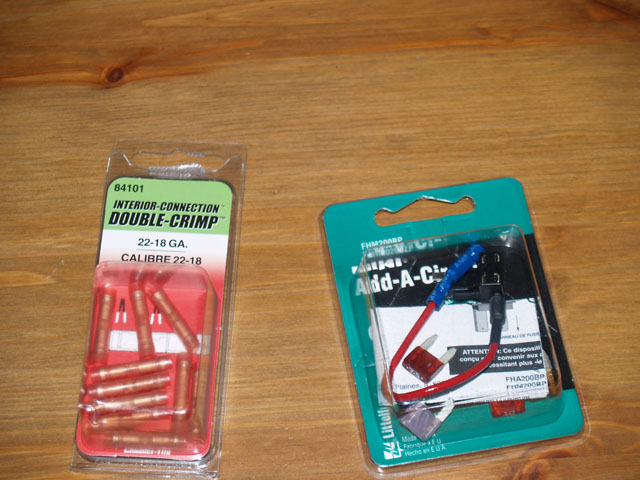
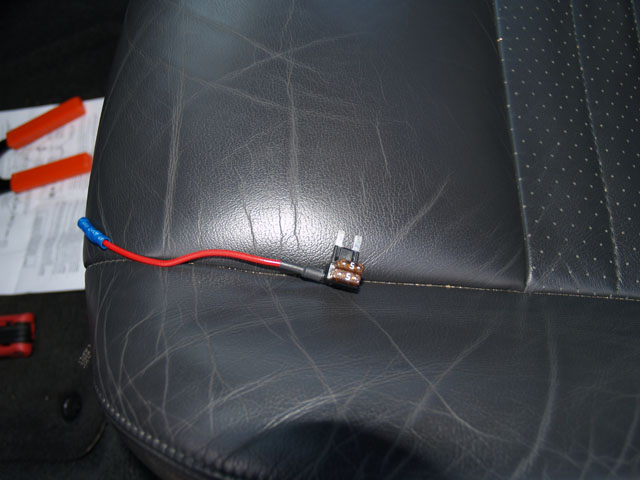
Here you can see a couple of things I used to not splice or cut wires.
and the double crimps hold the wires in place. more on this soon.

Pull out the a-piller
IN this picture take the black and the white wire and thread it behind
the weather stripping
Using the wire crimps, crimp the light bulb socket to the black and white
lines you just put in.
I used black electrical tape to hold everything together once they where
crimped.
here is what an little Fuse "add a circuit" looks like one 5v fuse came
from fuse number 37 from
the cars fuse box. the other 5v fuse came with the kit. put it all together like
so.
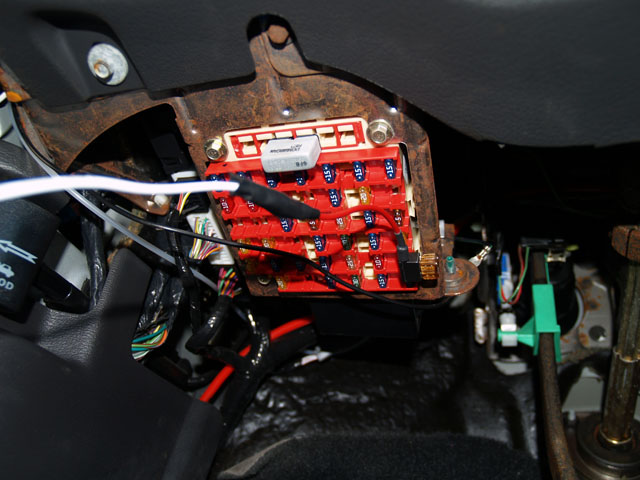
here is the fuse Box. I plugged the "add a circuit" to port 37. The white
wire is crimped and
held together with some electrical tape. the black wire is grounded to
a screw behind the fuse box.
you will need an 8mm socket wrench to get back there and loosen it up.
this way the white wire can
hook over it.
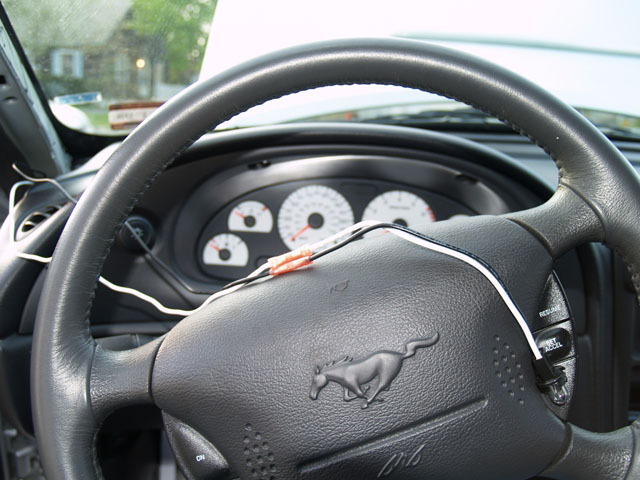
now you can turn on the lights to your car and the bulb should light up.
you can also adjust the dimmer on the bulbs too.
Congrats you have just installed an light to your cars electrical system.
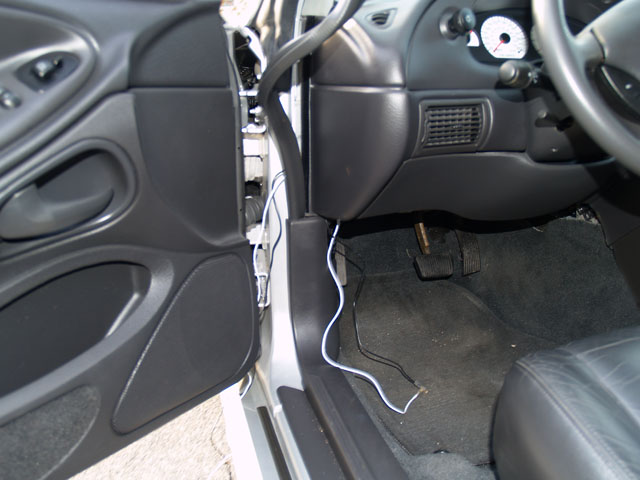
NOW we have to run the vacuum line
I ran the vacuum through the same grommet my sub woofer is hooked up too.
the other end will poke out underneath the steering wheel inside the car.
this grommet is located on the drivers side of the engine bay.
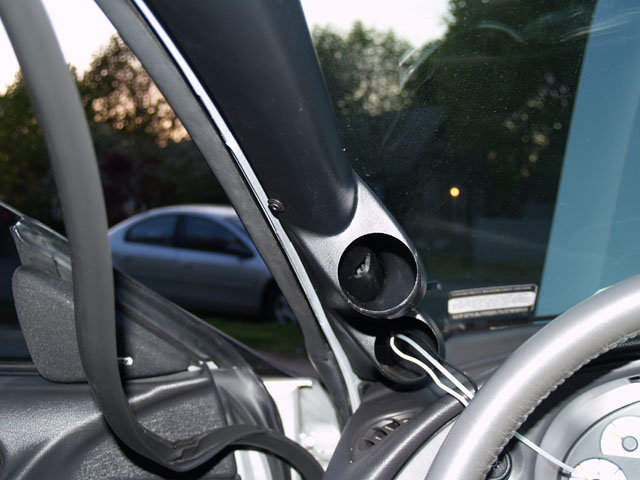
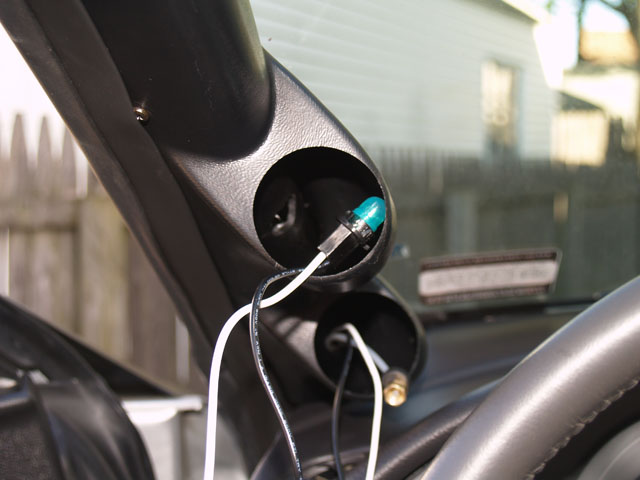
After fishing the line from under the steering wheel thread it through
underneath the weatherstripping towards the a-pillar.
here is the back of the Vacuum/Boost Gauge. the light connects on top
and the vacuum line goes on bottom. don't forget to put some teflon tape
on the threads to prevent leaking!
here is the vacuum line and light bulb ready to be all put together. i
have a little bit of extra wire to give me some play. you can tuck this
into the a-pillar pod and the gauge will fit ok.
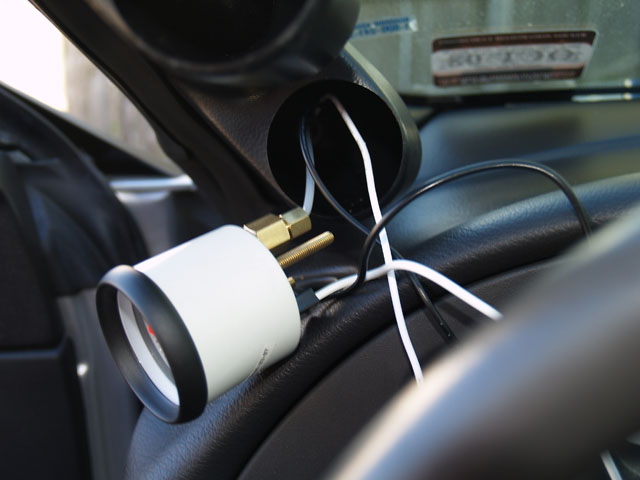
OK! the wires and the line are connected to the Gauge! WOOT!!! WOOT!!!!
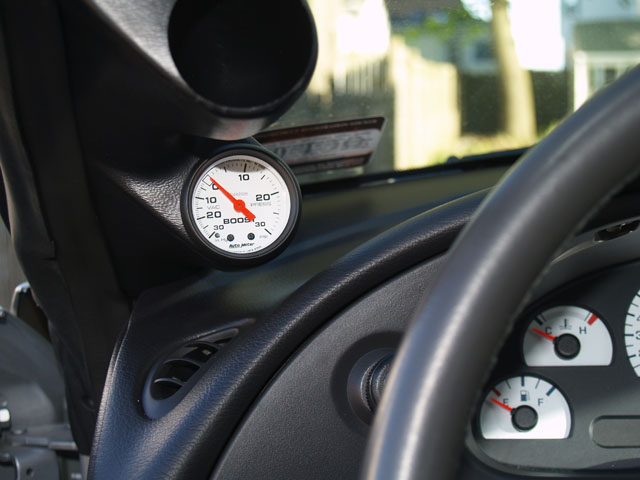
Now push the gauge into the pod. its a tight fight so just give it a little
push. if you ever need to change the bulb or anything it can easily be
pulled out. also notice the pointer is a little off. if you rotate the
gauge a little clockwise or anti-clockwise the pointer will be dead smack
in the middle.
LETS MOVE TO THE ENGINE AND CONNECT THE VACUUM LINE!
NOW this is the part I am not 100% sure I did right. According to all the posts I read you can tap into a vacuum line anywhere. I chose to plug it into the line near the plenum entrance. I chose this location because it required me to only move an existing line onto the T-connector and not cut into an existing vacuum line.
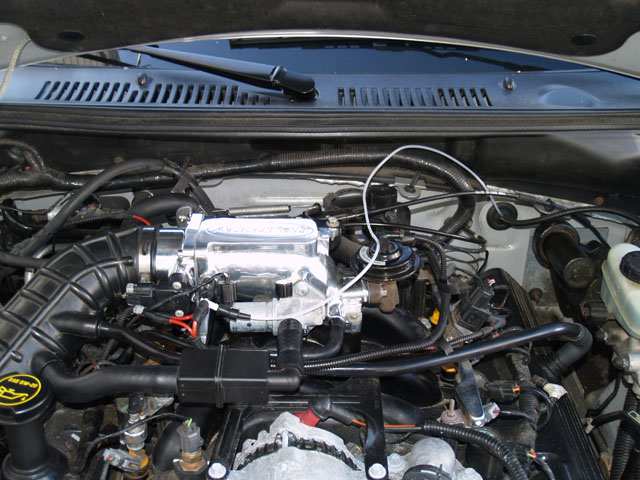
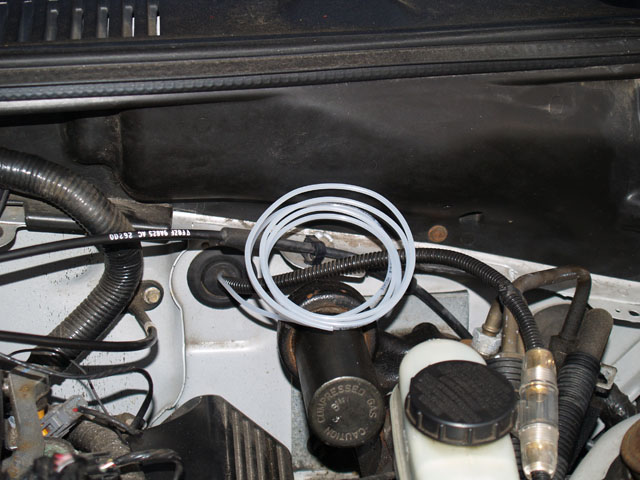
Here is the route I chose to connect the line. In this picture obviously is not how I am going to leave it. Its just an illustration of where the line goes from a to b.
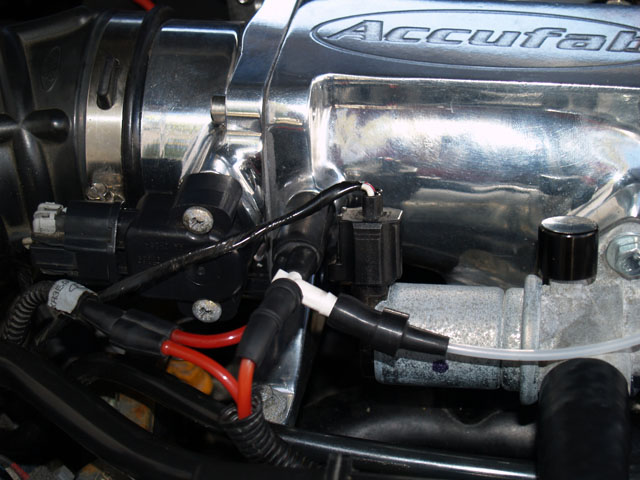
here is a close up of how its all connected together.
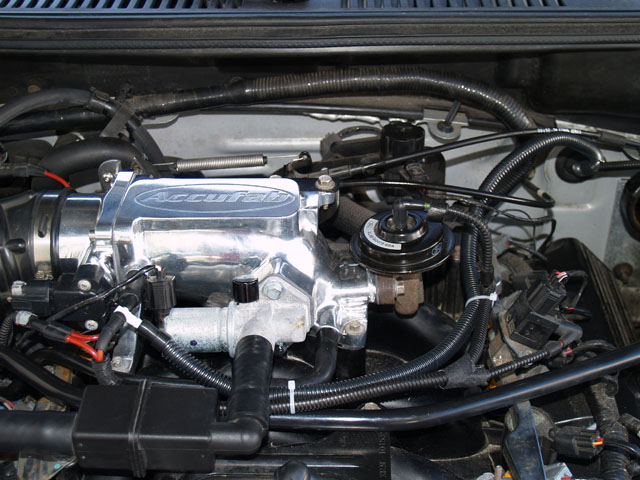
Ok here it is all neat and tidy. I used zip ties to hold the line in place. You may want to use some friction tape to hold the ends of the plastic tubing in place and closed up.
EPILOGUE
Well as far as I can tell my car is sucking between 18-21hg of air at
idle. During normal driving conditions the gauge moves to about ~10hg.
Under wide open throttle the Vacuum goes to 0. So hopefully my car is
now giving me correct data.
Kalvic. http://www.stangnet.com/mustang-forums/699928-how-install-vac-boost-gauge-complete-n00b.html