|
|
||||||||||||
|
|
|
Westchester Web Design |
Okay, this write-up
is going to describe, in as much detail as possible, how to properly equip
an 87-93 mustang with HID headlights. The
same general process can be used to do it on any other car as well.
First, before I begin the write-up, let me give a little lesson on HID lighting.
This website give a lot of very good information about halogen vs. HID lighting:
http://www.intellexual.net/hid.html
To paraphrase some key points from the site above:
High Intensity Discharge systems consist of a bulb and a ballast/ignitor.
The ballast acts as an ignition box to fire up the gas discharge process.
The bulb itself is filled with a mixture of noble gases as well as alkali
earth metal salts. In this setup, the noble gases and metal salts are
actually used as part of the lighting processes. The ballast takes in
a small amount of input power of 35 watts at 12 volts and inducts a solid-state
charge of 25,000 volts to the positive electrode. This creates a very
high-powered arc of electricity across the electrodes, which excites xenon
gas into discharging photon particles (light).
The problem:
Most people think that they can put HIDs in their car by purchasing one
of these plug and play kits. This can be done, and it will give better
light output than stock halogen bulbs. However, it is the totally WRONG
approach. HID bulbs produce a very bring
light, that is obvious. The key thing is focusing this light properly
and safely. The light emitted from an HID bulb and a halogen bulb is not the same. HIDs have different optics compared
to halogen. It requires a special type of reflector housing or a projector.
The biggest problem with just throwing an HID “kit” is the glare caused to oncoming drivers. Halogen housings
are not made for HID bulbs. The light gets
scattered in all kinds of directions instead of being focused towards
the ground like it should be. This creates a nightmare for oncoming drivers
and it can be very dangerous.
The solution:
Equip a halogen housing with HID projectors.
This is a VERY custom job and takes a lot of time and patience. There
are a lot of different projectors out there to choose from. Some are small,
some are large. Some have HID high beams,
some do not. The Fox housing is rather large so size was not an issue
for me. That is why I chose to use a set of BMW E46 bi-xenon projectors.
The bi-xenon means that I have both low AND high beam capabilities.
Okay, time to get down to business. First I'll describe the retro itself,
then the wiring and aiming and all that.
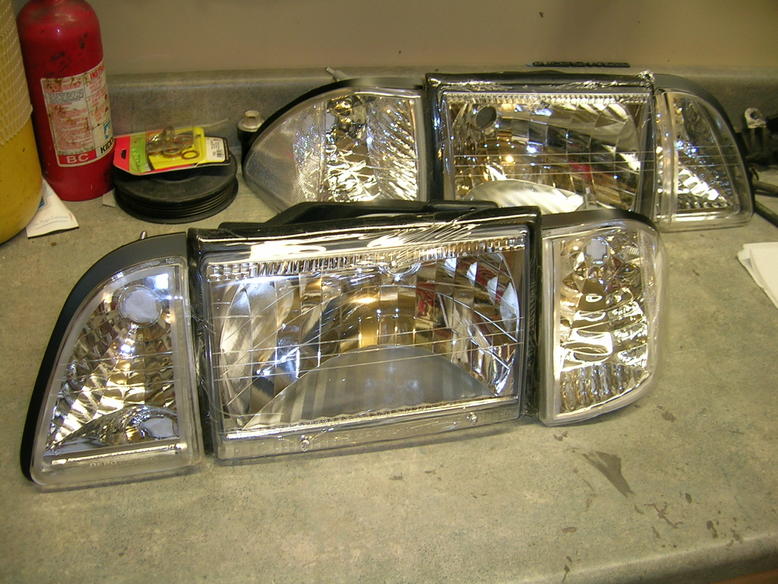
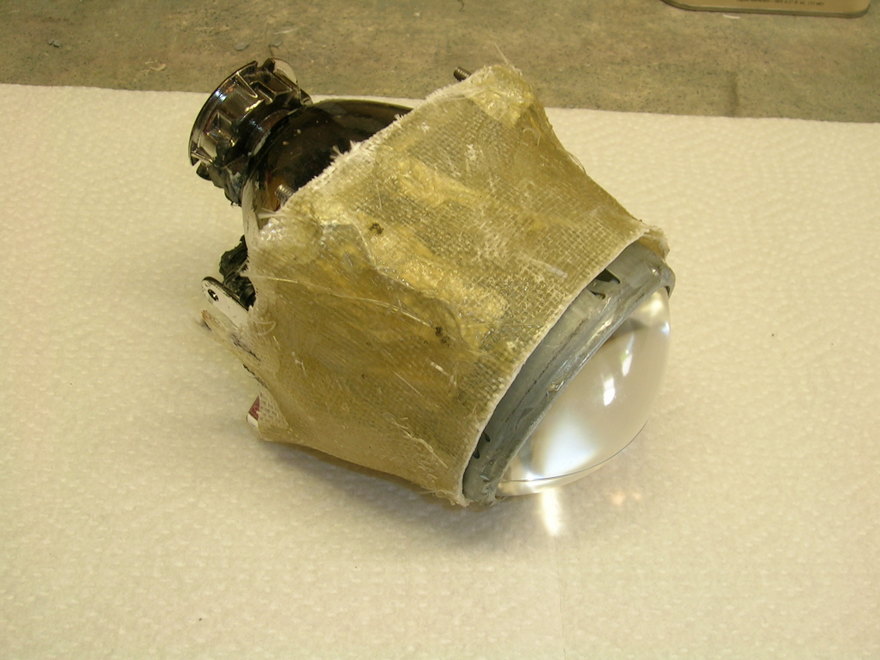
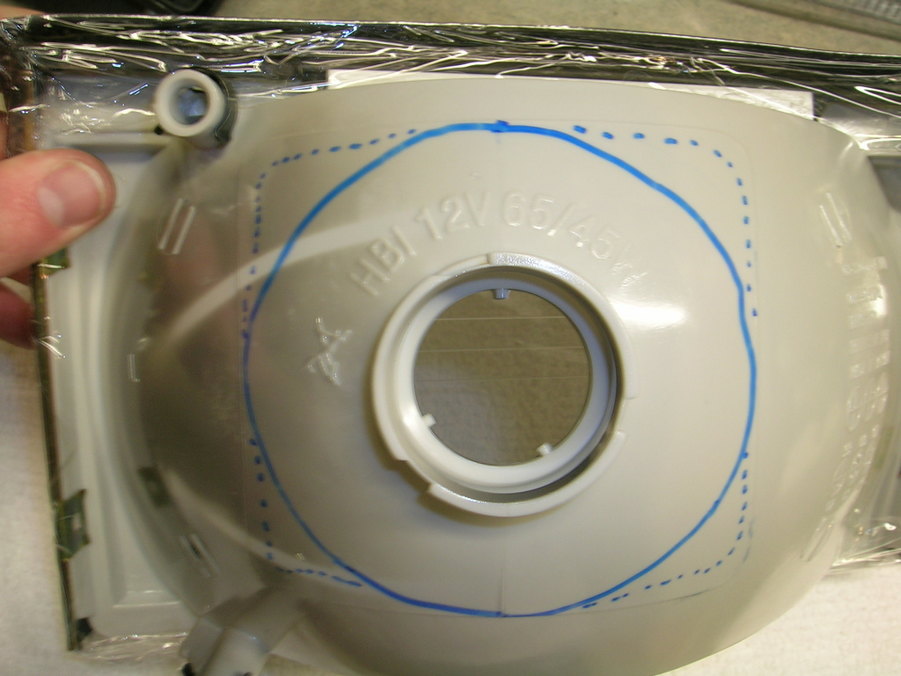
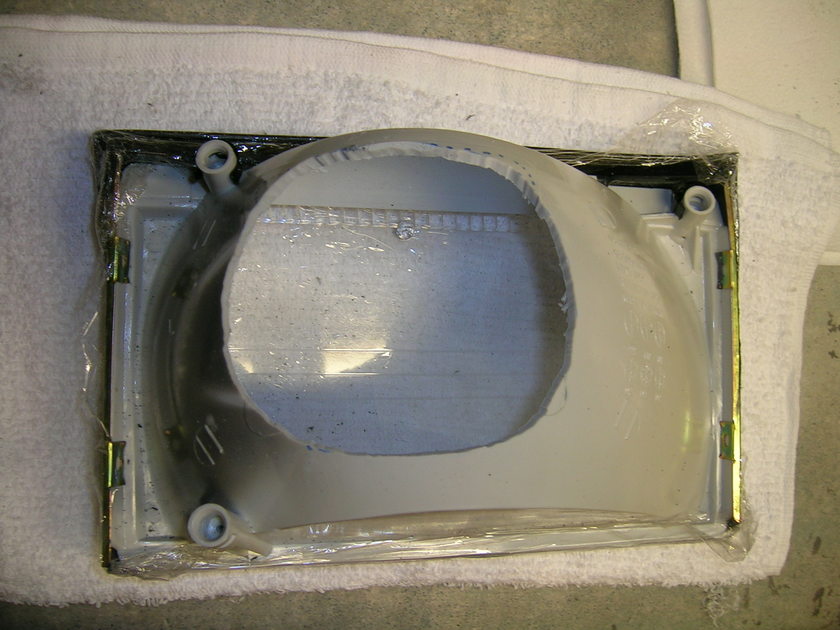
These are the housings that the projectors are going into:
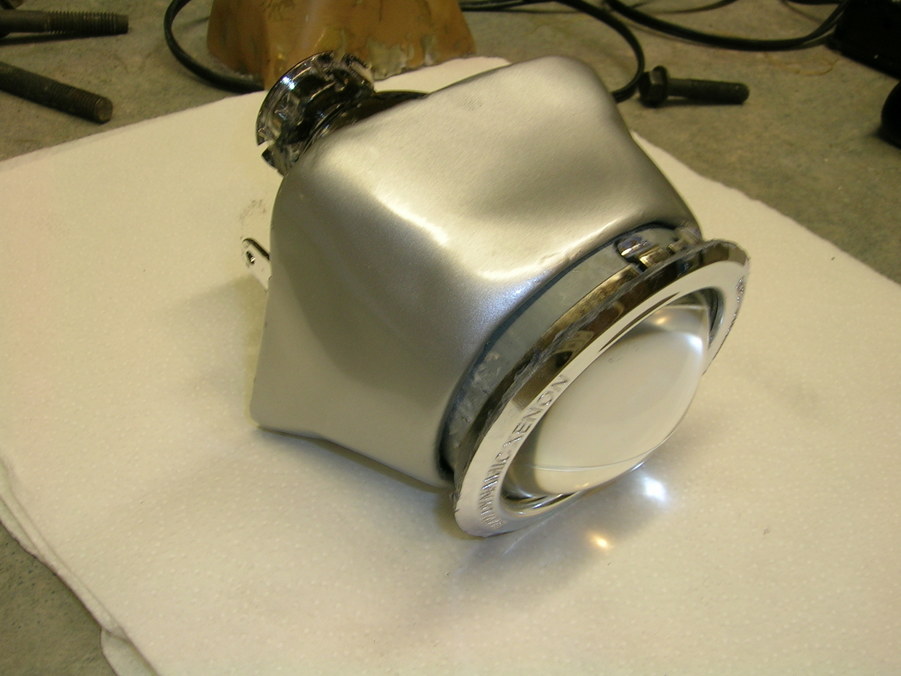
Here is a picture of the projector itself
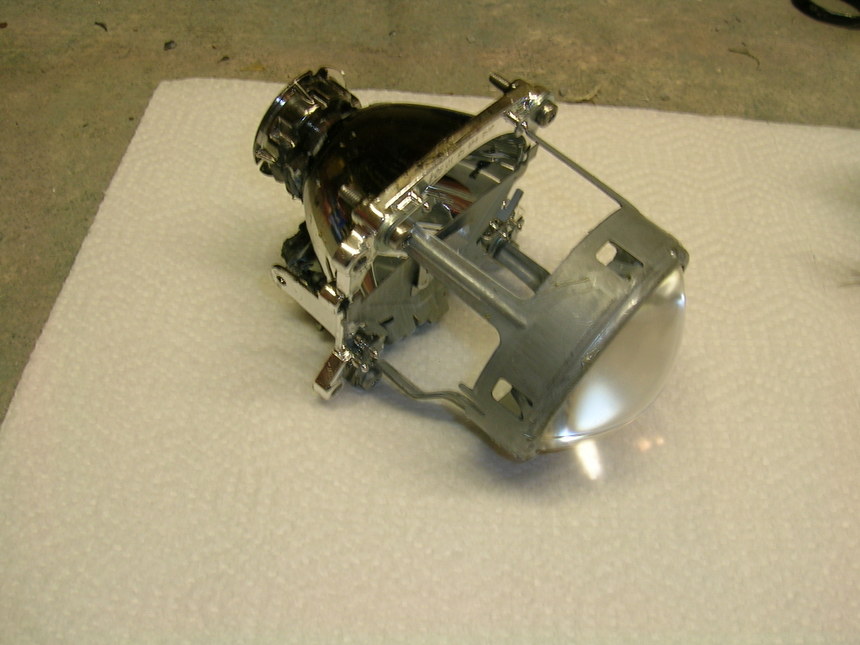
Because of the type of projector I chose, I had to do a little extra modification
to get it to work properly. I needed to create a shroud around the open
area between the lens and the bulb. I only want the light to shine through
the lens, not anywhere else. In other words, I need to create a “sealed”
beam.
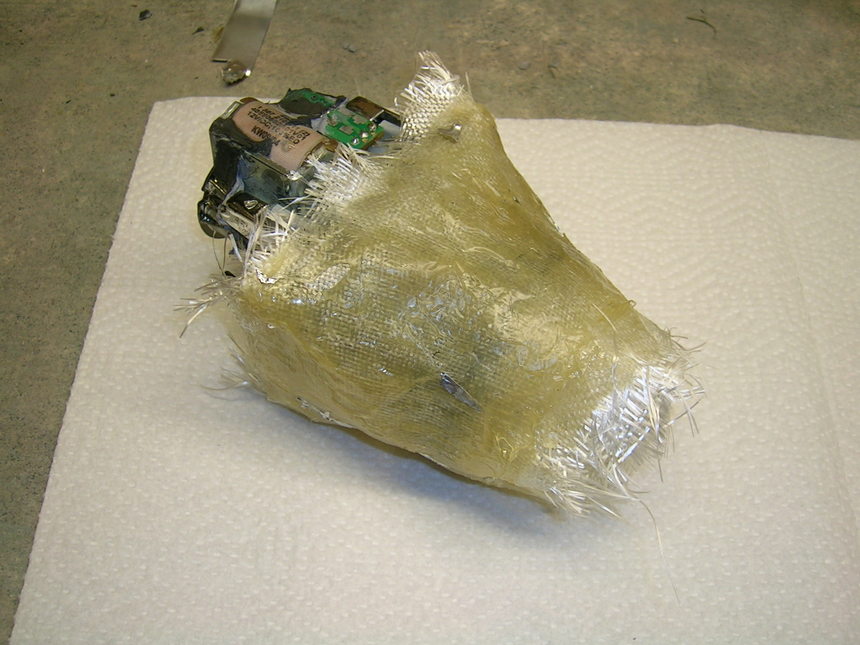
So my solution was to create a shroud out of fiberglass. This was my first
time ever working with fiberglass, so if it’s not perfect, that
is my excuse, hah.
I used aluminum foil and strips of thin aluminum to lay the fiberglass
on:

Then I layered the glass:
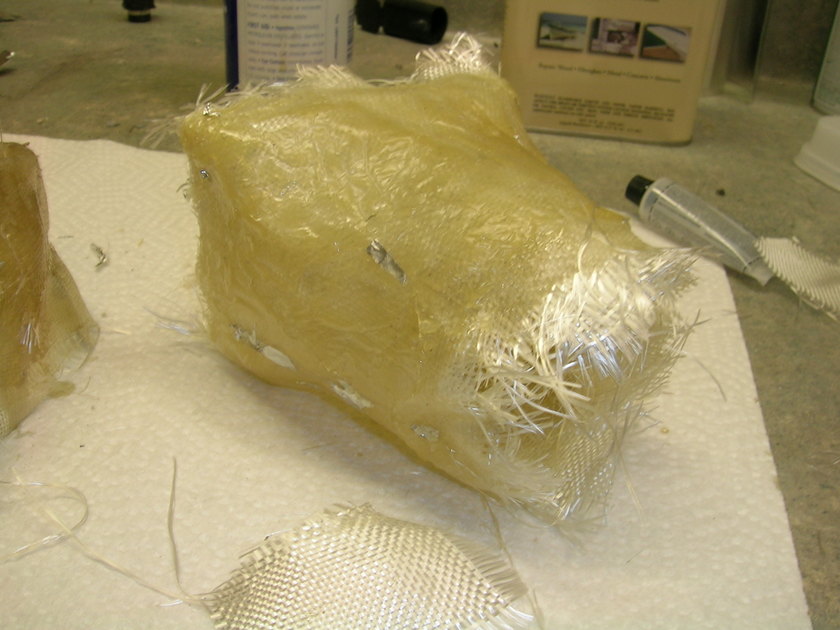
trimmed it:
put some filler on
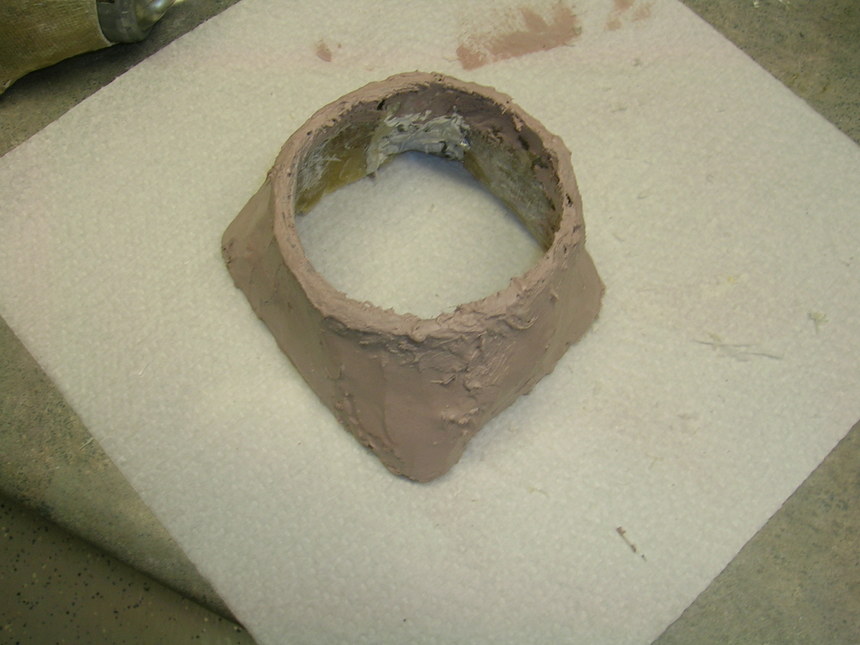
smoothed it out
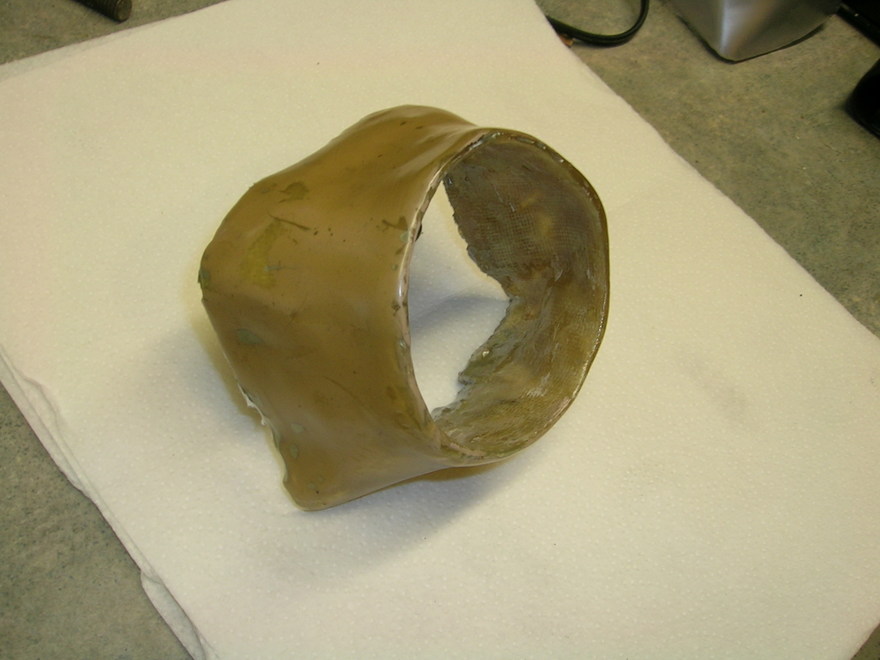
and the final product.
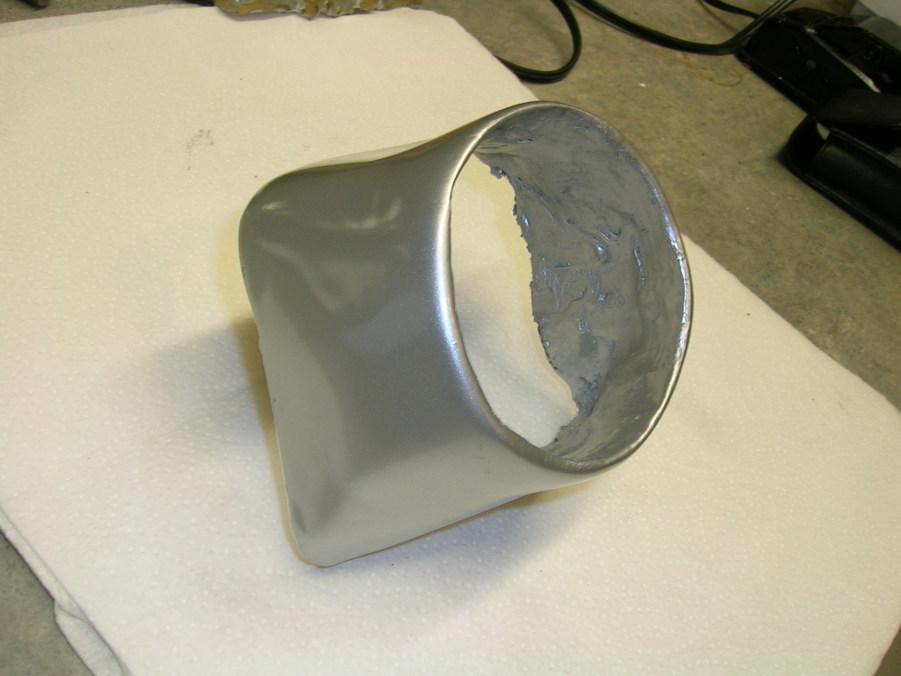
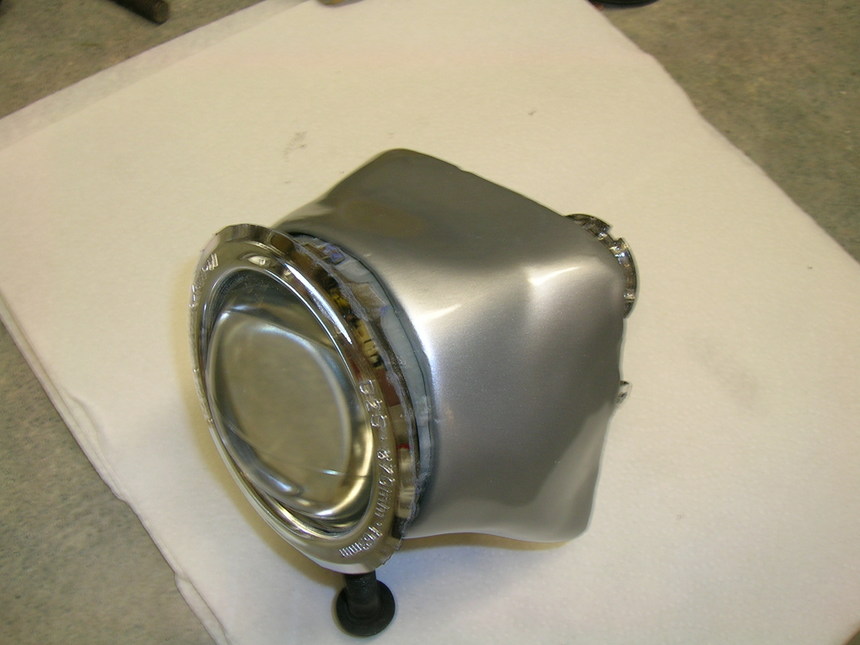
Here are some pics of it on the projector. The shiny piece on the front is a bezel from a 5 series BMW that I trimmed
Once I got that out of the way, I started work on the housing itself. I drew out marks of the smallest and largest parts of the projector. So the cutting I do will be somewhere within those lines.
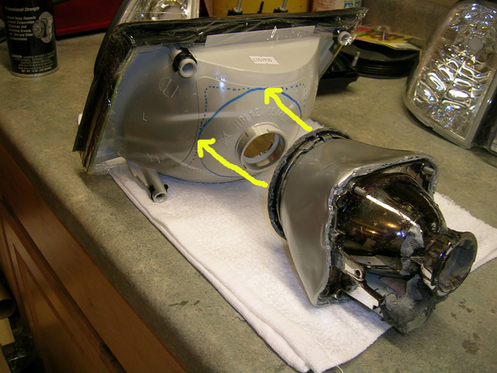
This is basically what is going to happen. The back of the housing is going to be cut out and the projector will be inserted and then fiberglassed into place.
The last time I did the retrofit on my car, I needed to bake the housings in the oven for 10 minutes at 250* to melt the glue so I could separate the lens from the housing. The way that I am doing it this time will not require that, thankfully.
To cut out the back of the housing I used a drill to make some holes around the perimeter of the circle. Then I simply used a jig saw to cut the hole. The back of these housing were surprisingly thick.

Then I had to enlarge the hole some more. Yes, it's quite large.
Here's the projector halfway mounted into the hole. I still need to cut out some more to get it to slide in a little further.
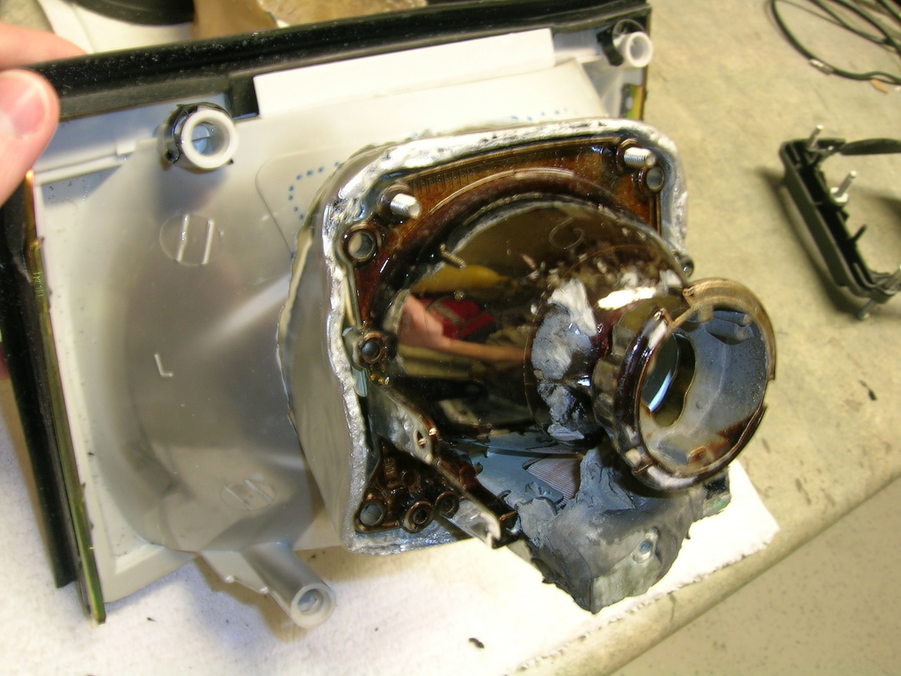
And a little teaser of how the final product should look.
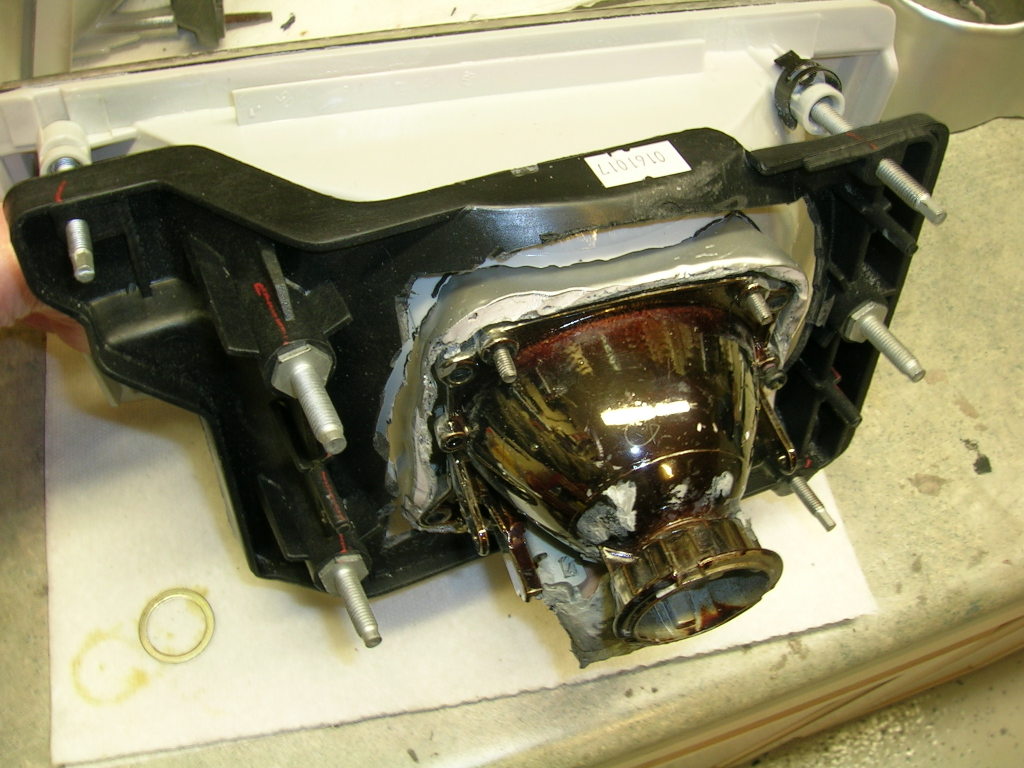
Here's the passenger side which is ready to be mocked up in the car and
aimed.
Now for the wiring/electrical part. This is one of the most important
parts of the install. A typical HID bulb
operates at 35 watts and pulls about 3 amps of current, compared to a
halogen's 55 watts. Not only do they take less power to run, but they
burn cooler and create less heat than a halogen bulb. However, there is
one issue. When you flip the headlight switch to turn on your headlights,
all those gases in the bulb must be ignited. This occurs during the first
5 seconds after the lights are turned on.
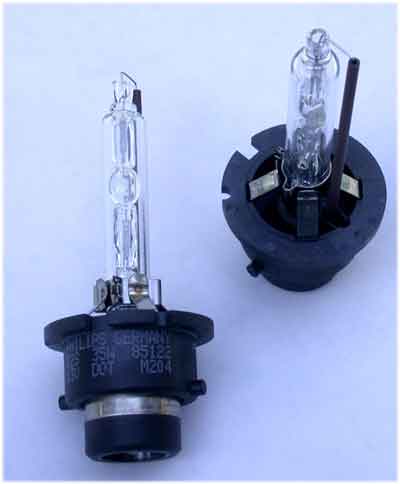
Here's what an HID bulb looks like, for
those of you that don't know. You can see a small round bubble in the
middle of the bulb. That is where the salts are that get ignited. There
are 24,000 volts running through those bulbs when they are on.
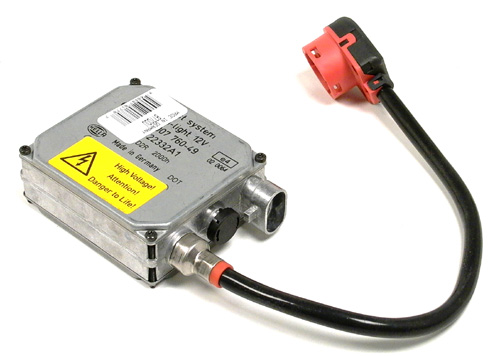
Here is the ballast/ignitor that powers the bulb. The red connector attaches
to the end of the bulb. The other side of the ballast is where it gets
it's 12v source and ground from the car.
You may notice that when a BMW or Audi turns their lights on, they come
on very blue and then slowly turn whiter and whiter. This is what the
bulb does when it warms up. During this warm up period, the ballast/ignitors
draw close to 15 amps of current for each bulb, which is much more than
the stock wiring can take. After a little while the wiring isn't going
to take that abuse anymore and will probably burn up. To fix this problem,
an additional wiring harness consisting of relays is required. The relays
take the grunt of the high current so the stock wiring doesn't have to.
There are tutorials online that show how to make one, or you could just
buy one already made for around $50. www.suvlights.com sells pre-made plug and play wiring harnesses. And besides, an upgraded
headlight harness should be on of the first things upgraded on our fox
bodies. They didn't exactly come with great wiring from the factory.
To mount the projectors to the housing, I used epoxy, JB Weld
, as well
as some Quik Steel. There is no way that the projectors will ever be able
to break loose from the housing. They are in there for good.
To aim the headlights, I used my Subaru Impreza as a baseline. I aimed
the headlights against the shed on the side of my house. I then took a
number of different measurements such as the height of the beam from the
ground, the distance between the driver and passenger beams, the height
of the projector from the ground, the distance from the shed, and the
angle that the beam is projected. I then used those numbers to aim the
projectors on the mustang. I used masking tape to mark where I wanted
the center of the beam to be. I took into consideration the difference
in ride heights and widths of the cars. I did one headlight housing at
a time. Mounted the headlight housing to the car but did not put on the
nuts that bolt it down. I held the projector assembly with the back of
my hand and aimed it accordingly. I then had to carefully pull the headlight
out of the car while still holding it. That was the hardest part, because
if I moved my hand, the projector would move and I would have to do it
all over again. Once I got it out, I had a friend put some Quik Steel
around the edges. I held it until it dried and then I filled in all the
rest with JB Weld and 5 minute epoxy. I then repeated everything all over
again for the other side.
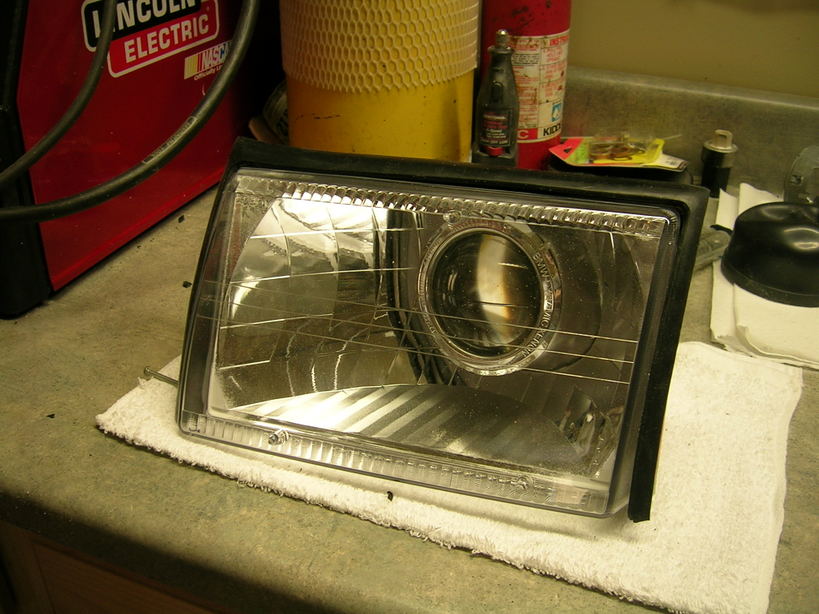
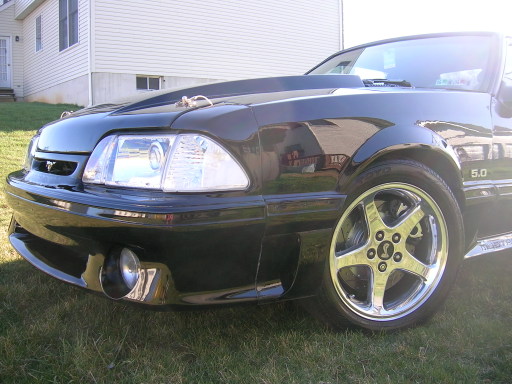
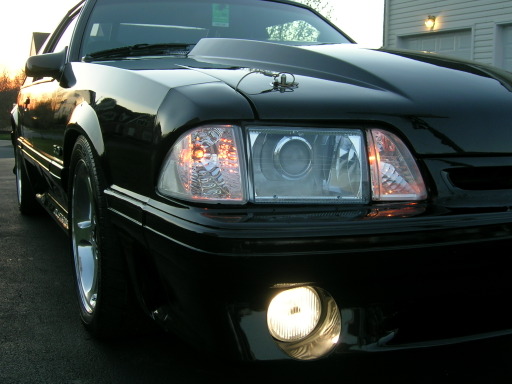
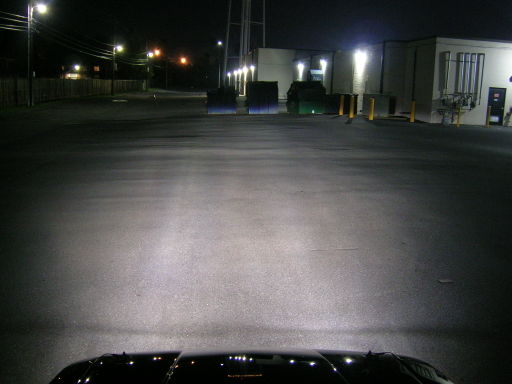
Here are some pics of the final product. I still have to make some more adjustment to get the lights to line up nicely.
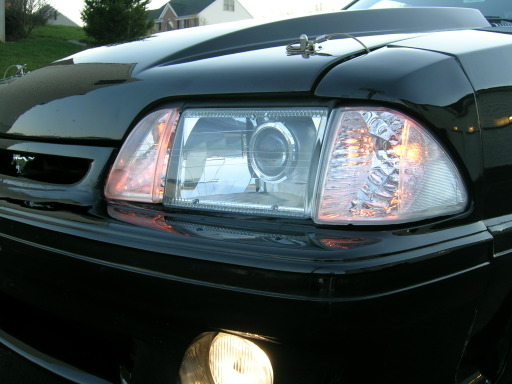
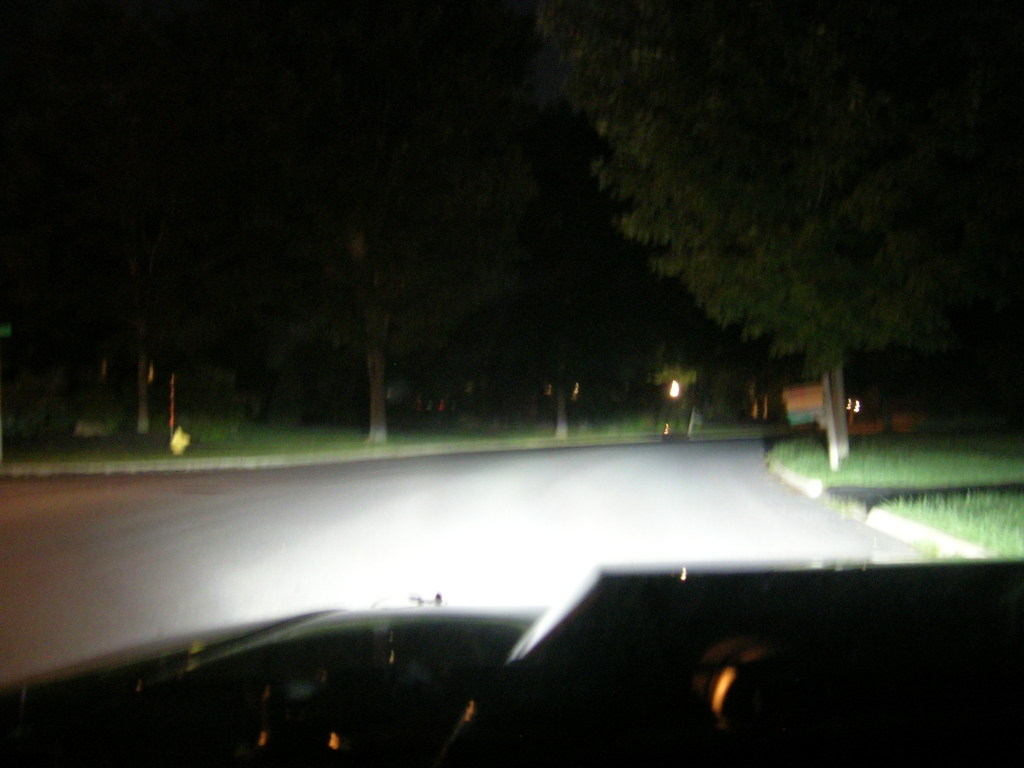
at night
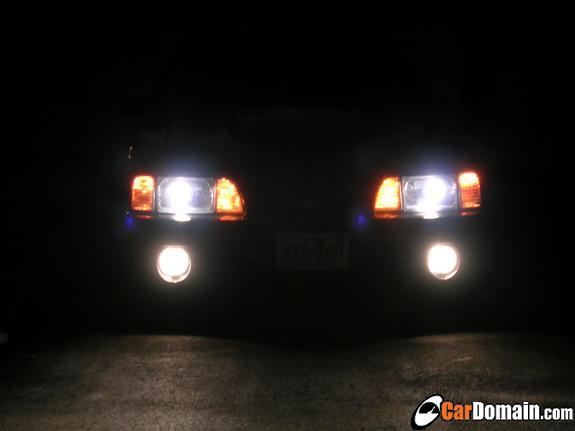
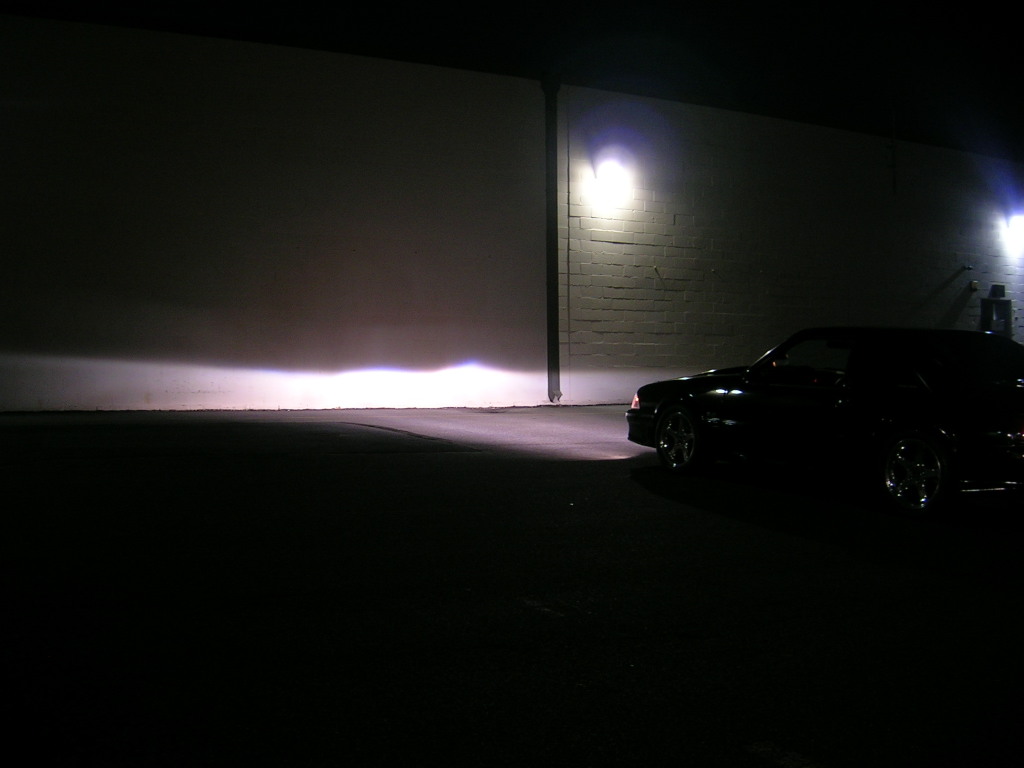
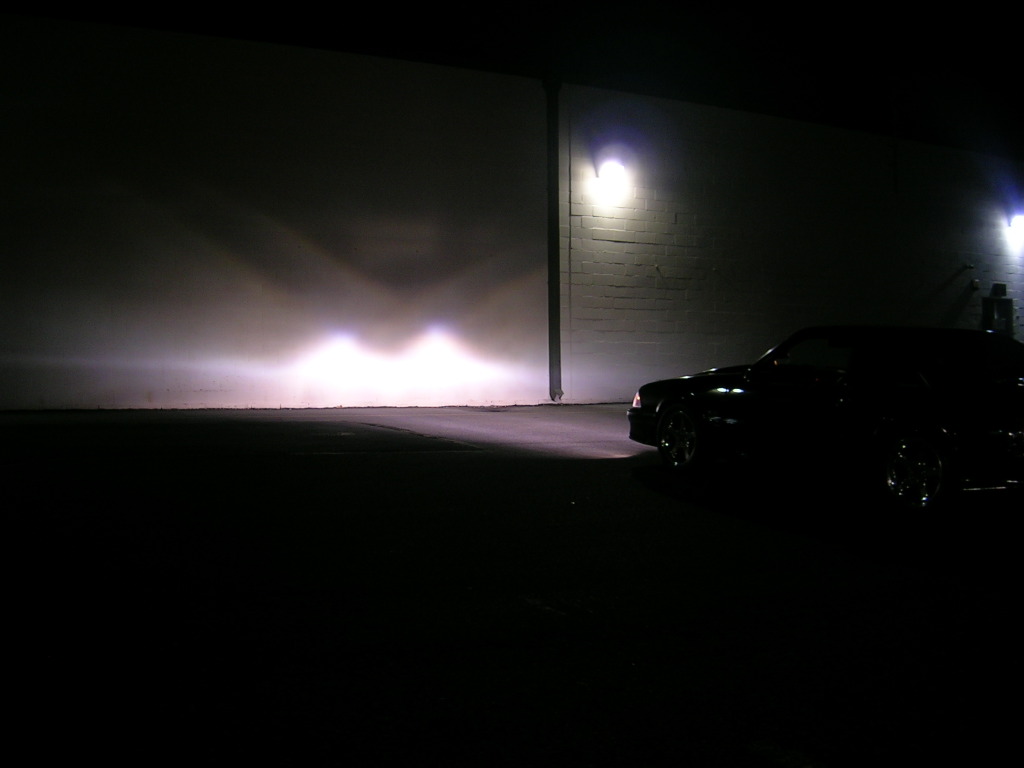
Some output pics.
low beam
high beam
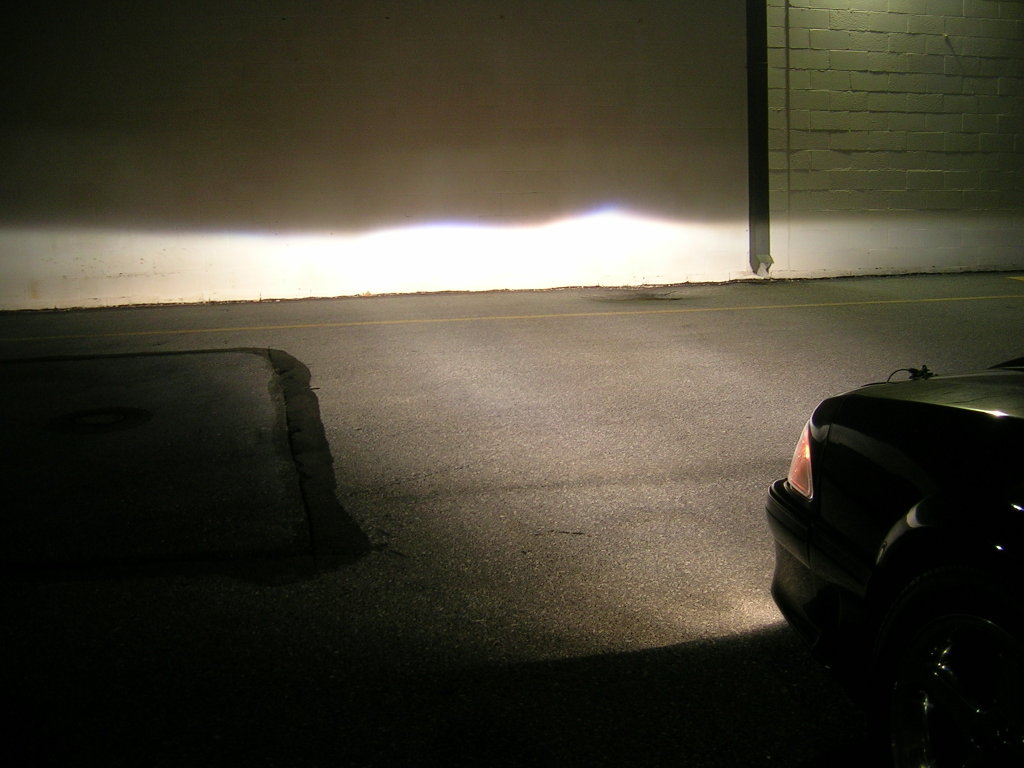
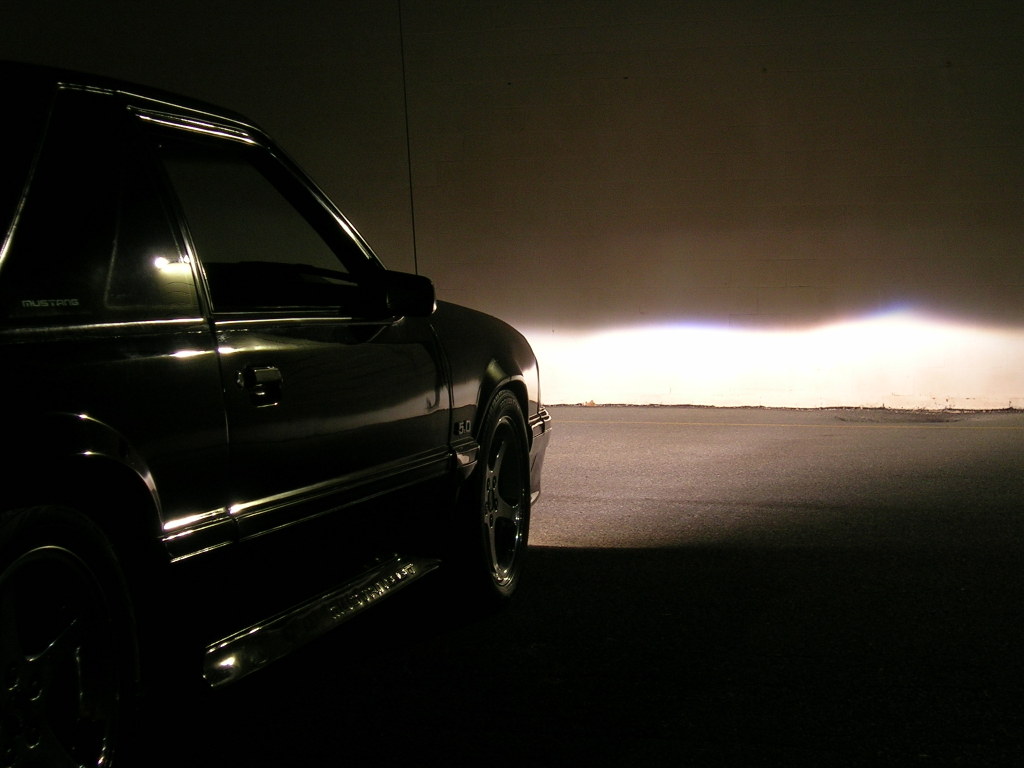
side shot
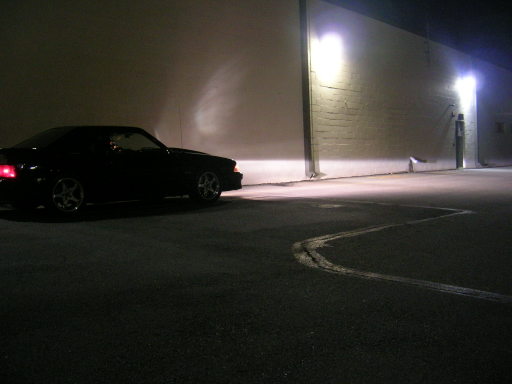
These give you a good idea of how much light output there really is.
Found and / or written by 50mustang001
@ Corral.net |